 |
|||||||
| Home | Inquisitor Tester | Learning Lab | Consulting | Shipping Policy | Contact us | Support | ---------------------- |
| News |
| Coming soon! 9060 Blade. |
| *
FREE * Download the schematic for this project for free! |
 |
LED & Bargraph Display
Project
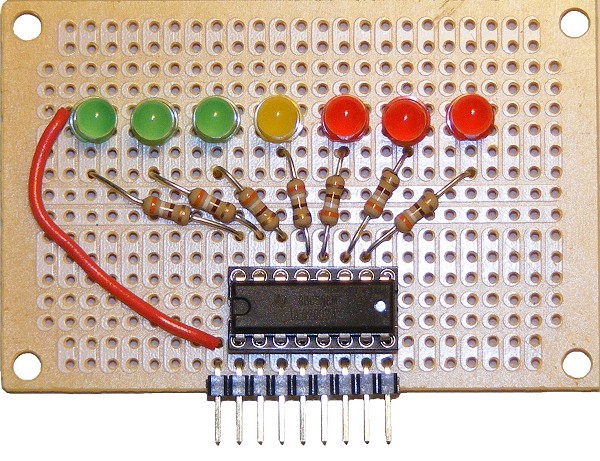
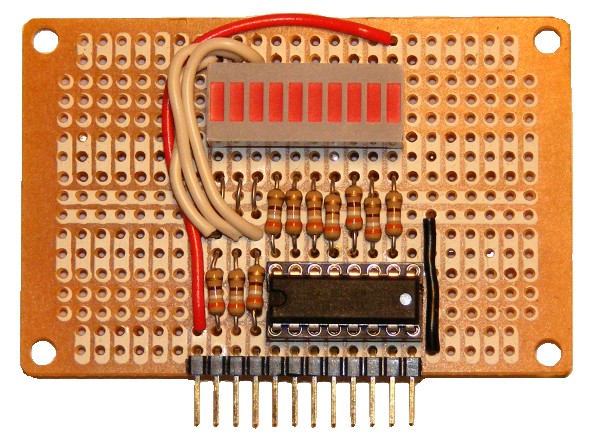
Breadboard ready LED and Bargraph display.
Falling into that category of "I need a visual aid to debug this circuit!" and then having to wire one up, this project is designed to provide a plug in solution. Both these solutions use a ULQ2003A darlington transistor array to drive the LEDs. This IC has 7 transistors onboard and allows the LEDs to be driven by any TTL or CMOS compatible signal. Each transistor is capable of sinking 500MA with a 2.5A limit on the device.
This project has been designed around RadioShack's circuit board (part #276-150). This small compact board will fit all components used in this project and, the small footprint of this circuit board takes up minimal space on the breadboard.
| Connector Pinout | |
| 7 LED Display | Bargraph Display |
|
|
* Since the ULQ2003A is limited to 7 transistors, the first 3 LEDs are driven directly by the device. To keep the brightness of the LEDs uniform, the resistance for these LEDs is the same for those being driven by the transistor array. So please bear in mind that when using the first 3 LEDs, care should be taken to prevent excessive current draw on the connected device.

Parts List for LED display:
- 1 - 16 pin dip socket.
- 1 - ULQ2003A NPN transistor array.
- 7 - 330 Ohm resistors.
- 7 - LEDs.
- 1 - 9 pin right angle connector.
- 1 - Printed circuit board (RadioShack part #276-150).

Parts List for bargraph display:
- 1 - 16 pin dip socket.
- 1 - ULQ2003A NPN transistor array.
- 10 - 330 Ohm resistors.
- 1 - bargraph display.
- 1 - 12 pin right angle connector.
- 1 - printed circuit board (RadioShack part #276-150).
|
|
||||||||||
| All contents of
this website are copyrighted 2010-2018 NeoLoch |
||||||||||